TIGER FACE PAINT DESIGN
As you can see from this design, it can take practice and skill to master a perfect tiger design, but with a little practice, and this guide, anyone can get it in no time. In this guide you can find all the tips and tricks you need to perfect many a face paint design. Whether face painting is brand new to you, or you just need inspiration for a new design, this guide is perfect for you.

YOU WILL NEED
Before starting your tiger face paint design, ensure you have all the necessary supplies.
A clean, well-lit workspace
A disposable surface to protect your workspace (e.g newspaper)
A mirror for easy visibility
Smock or apron to protect your clothes
Disposable gloves for cleanliness
You're ready to begin when you’re sure you have all the necessary tools!

STEP ONE | BASE COLOURS
Using a spouncer, apply white face paint to the mouth area and jaw line, along with above the eyes, slanting towards the edge of the face. Then, using a spouncer, apply yellow paint to the rest of the face, avoiding the white areas. Then apply the orange paint, also with a spouncer, to the outer edges of the yellow sections, blending this orange with the yellow.

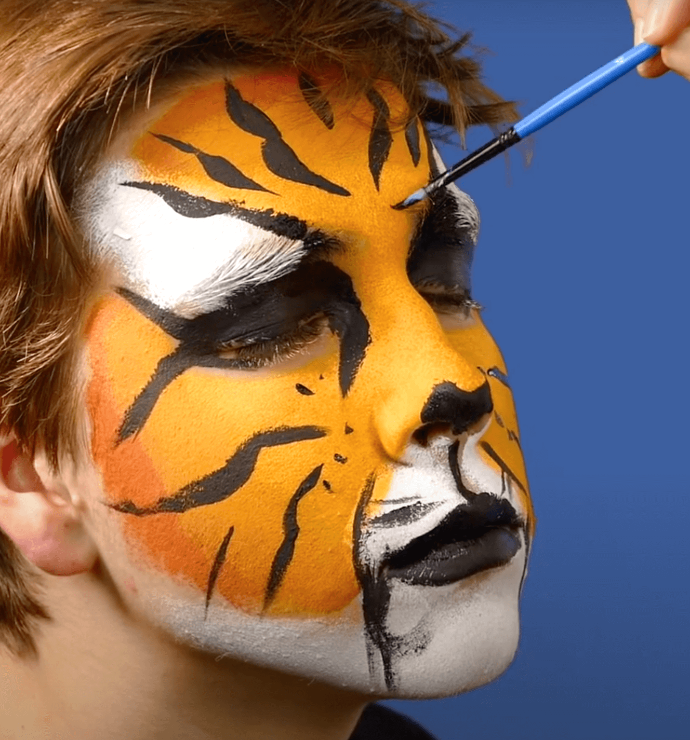
STEP TWO | TIGER STRIPES
Using a flat brush, create black lines going upwards on the forehead, twisting the brush throughout to create varying thicknesses. Then, paint lines starting at the inner edges the eyebrows and following the white shape dabbed on earlier. This will create an interesting and unique design that stands out.

STEP THREE | TIGER STRIPES
Use the flat brush to create the design around the eye by covering the eyelid and creating an upward wing at the outer corner of the eye. Then create a downward wing, and a stroke downwards from the inner corner. repeat the process used on the forehead for the tiger pattern on the cheek, with the lines going from the centre of the face to the outer edges.
STEP FOUR | TIGER MOUTH AND NOSE
Fill in the tip of the nose and the lips with black face paint, and connect them with a thin backline. Create outward strokes from the upper lip to make whiskers.

STEP FIVE | FINISHING TOUCHES
Dot small black spots around the face, including between the eyebrows and around the nose to finish off the design.
Tips to make your next Tiger face paint design even better
There are plenty of ways to improve your next tiger face paint design. For example, making all of the stripes on the face varying in size by turning the brush throughout the stroke.
Practice your tiger designs
As you can see, creating a tiger face paint design does take some practice, but can be done. If you follow the tips and steps outlined in this guide, you’ll be a pro in no time. With a bit of practice, you’ll be able to easily create incredible tiger face paint designs.