VARNISHING TECHNIQUES
Master Water-Based Varnish for Acrylic Paintings: The Ultimate Guide
Applying water-based varnish to acrylic paintings is an art in and of itself, where protection is combined with decoration and aesthetics to enhance your artistic endeavours. This guide explains water-based varnish in detail so that your acrylic paintings will look pleasing and be protected from the elements and time itself. Or check out our info page on Choosing the Perfect Water-Based Varnish: Polymer Gloss vs. Polymer Matt

HOW DO YOU SELECT A VARNISH?
Varnish Sheen and Gloss Level
When selecting a varnish, one of the first questions that arises is that of the gloss level required. In general, good quality acrylics will have a similar sheen level across their colour range. However, the addition of water or many of the other mediums available to the artist, may change the gloss levels dramatically. One must determine the level of gloss that is required. Most gloss and matt varnishes of the same type may be mixed to obtain the desired sheen level.

Polymer Gloss Varnish: Amazing Vibrancy and Depth
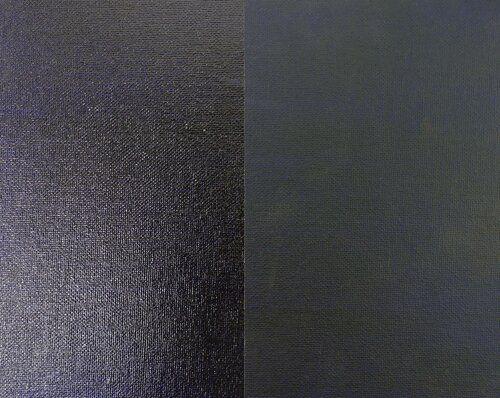
The polymer gloss varnish works well for those who want to bring forth their colours' more profound vibrancy and saturation. It amplifies and deepens the colouring of the painting, bringing out its depth and darkness in the spectrum of each hue with a rich, glossy sheen. Glossy surfaces also offer some element of reflective quality by adding a sense of dimensionality, enhancing the colour, and rendering the piece of work as a whole more interesting. However, it must be noted that gloss varnish occasionally reflects light, and changes in lighting can hinder visibility.

Polymer Varnish A Touch of Subtle Elegance and Soft Focus
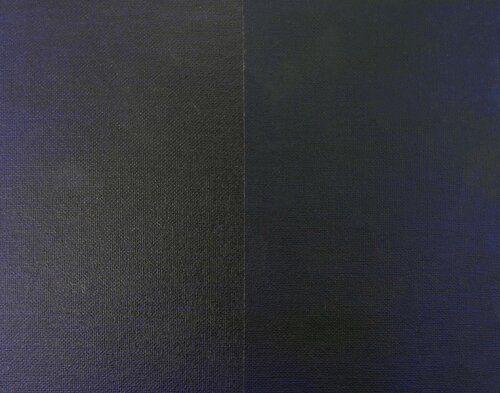
At the other end of the scale, polymer matte varnish is softly elegant, diffusing light rather than reflecting it. This can work to the best advantage on artworks that are best viewed with a soft focus, wherein the artist would like to do away with any glare and show off the piece regardless of the angle from which the viewer looks. The matte varnish softens the colours to some degree, and the work seems more sophisticated and, in many instances, subdued, which many artists and collectors find preferable.
Gloss Vs Matte: What to Consider
On the other hand, what further influences one's choice between gloss and matte polymer varnishes is the environment where the artwork will be displayed and the kind of effect needed. The gloss varnishes make bold statements in vibrant colours and high contrasts, whereas the matte varnishes go best with those pieces, aiming to create a more toned-down, sophisticated feel. The other factors that could also be dictating the choice of varnish are the practical considerations, such as the lighting under which the art will be looked at and if there might be any glare.
All varnishes start with a relatively high gloss level; they can be considered to be gloss. Matt and satin varnishes have what are known as matting agents added to them to reduce their gloss levels.The matting agents are extremely fine particles suspended in the varnish, this matting agent defracts (scatters) the light which gives the matt appearance.
Mixing Gloss and Matt: Crafting the Ideal Custom Sheen
Among the main benefits of using water-based varnishes is the allowance of the exact level of sheen needed to meet the precise requirements of the artwork. Mixing the polymer gloss and matt varnishes allows the artists to produce a tailor-finished product that works for accurate vision. The selection will cater to a diversity of finishes ranging from semi-gloss to satin, hence flexibility and control of the final appearance. With a little experiment, one will find the perfect balance because it is in the ratio of gloss to matte varnish that the intensity of the sheen will be dictated.
Pre-Varnishing Steps: Key to Success
Before varnishing, ensure your paint is cured to avoid trapping water in the varnish. A clean surface is essential because even dust or lint can be trapped in the varnish. If it happens, well, eventually, it spoils the perfect varnish. *Here's one often-overlooked tip: photograph your painting before the varnish stage; the reflective nature of varnish brings its own set of problems to photography in introducing glare.
Polymer Varnish: Dilution to the Right Mixture
The key is perfect viscosity that will ensure smooth application of varnish. Starting with a base ratio of 10% water to varnish can provide a good consistency for most projects, though don't hesitate to alter this ratio depending on the desired thickness of your coats. A 1:1 ratio for water and varnish is superb for ultra-thin coatings for artists who work in ultra-fine detail, as they will get excellent coverage. Yet, the painting details are not being covered due to the small particles.
Final Words: The Art of Varnishing
Mastering water-based varnish for acrylic paintings speaks volumes about the artist's devotion to their career since it reconciles technical skills with a vivid imagination. Applying the carefully chosen varnish, preparing the painting surface, mixing the varnish to the ideal consistency, and applying it with thoughtful techniques ensure that the art is protected and brought out. In so doing, they both embrace the science and art of the varnishing process, where, with great care, each painting comes to life—inviting the viewer to enjoy and protect it for generations to come.
Acrylic paint is dry to the touch within hours, but complete curing can take up to 2-4 weeks, depending on the paint's thickness and environmental conditions. A fully cured painting will no longer feel tacky and have uniform hardness throughout. To test, gently press a fingernail into the thickest part of the painting; if it leaves no indent, it's likely cured and ready for varnishing.
Apply the varnish in thin, even layers rather than flooding the surface. Thick layers can trap moisture underneath, leading to a milky or cloudy appearance in the varnish film.
Varnish your artwork in a position that is closer to vertical than horizontal. This approach is crucial for works with high relief or three-dimensional surfaces, as it prevents the varnish from pooling in crevices, which can result in cloudiness.
Avoid using hair dryers, heaters, or any direct heat source to force dry the varnish. These methods can cause the surface layer of the varnish to dry too quickly, trapping water beneath it. If heating is necessary, use gentle, indirect heat not exceeding 35°C.
The optimal temperature range for applying varnish is between 12°C and 35°C, with medium to low humidity levels. Conditions outside this range can adversely affect the varnish's drying and curing process.
Applying varnish below the minimum film-forming temperature of approximately 8-12°C can prevent the varnish from properly binding together to form a durable, interlocked coating. This can compromise the protection and finish of your artwork.
In temperatures above approximately 40°C, water in the varnish may evaporate too quickly, causing the surface to dry and cure while trapping water underneath, leading to cloudiness. Extreme humidity levels can also impact drying times, with ultra-dry conditions causing rapid evaporation of water and very humid conditions slowing down evaporation, both potentially trapping moisture within the varnish layer.