Easy Joker Face Paint Tutorial: Get a Creepy Transformation in No Time
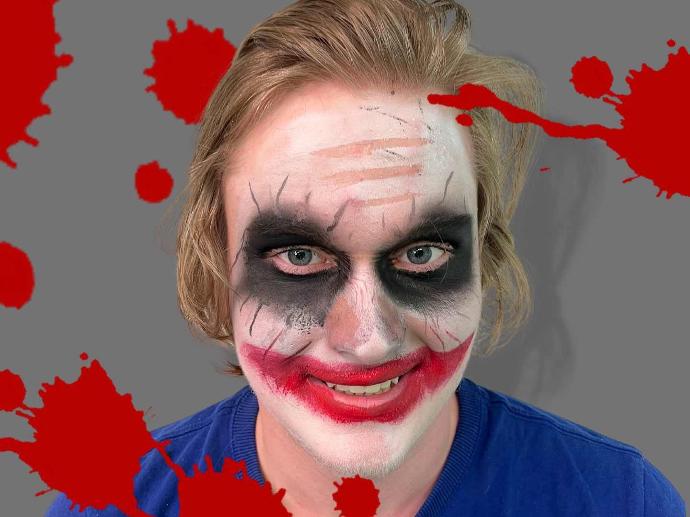
Looking for a quick and easy way to transform into the infamous Joker? Our easy Joker face paint tutorial has got you covered! With just a few simple steps, you can achieve a creepy and unforgettable transformation that's perfect for Halloween, parties, or cosplay events. Whether you're a seasoned pro or new to face painting, our step-by-step guide will help you create a signature Joker look with ease. Get ready to become the life of the party with our easy Joker face paint tutorial!
MATERIALS NEEDED FOR EASY JOKER FACE PAINT
Make sure you have all the essential supplies before starting your design.
Smock or apron to protect your clothes
Mixing palette or plastic plate
Two clean empty containers | cups for mixing
Airbrush and compressor
PREPARING YOUR FACE PAINT MIXTURE FOR AIRBRUSH APPLICATION
STEP 1 - PREPARE THE AIRBRUSH PAINT MIXTURE
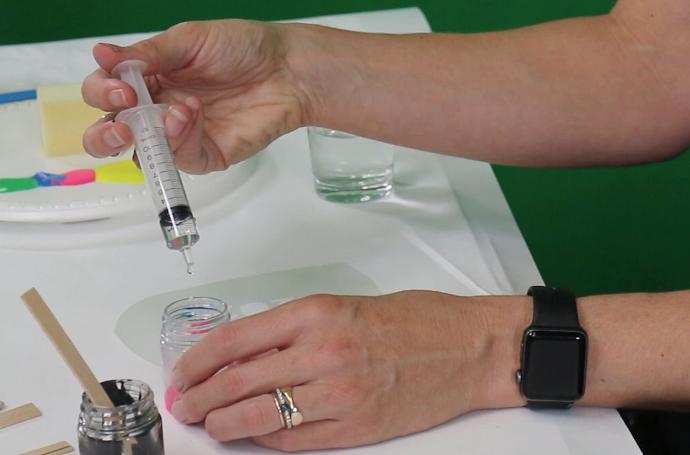
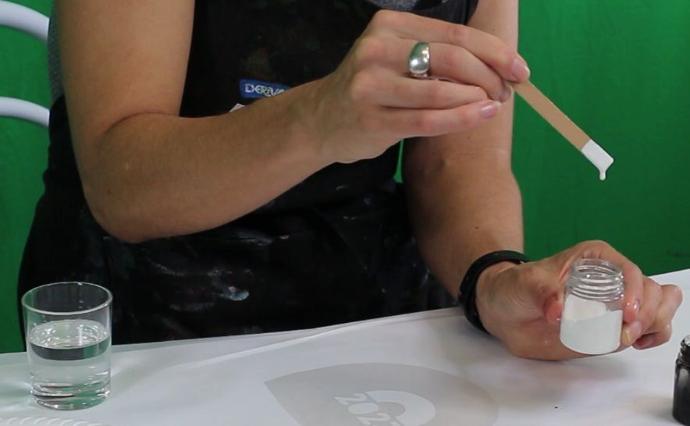
Before you can start creating your easy Joker face paint, you need to prepare a paint mixture that's suitable for an airbrush. To do this, get a clean empty container or cup and add some white Derivan face and body paint. Using a syringe or measuring spoon, add very small amounts of water to the container until you achieve the desired consistency. Be sure to mix the paint thoroughly to ensure a smooth finish when applying it to your skin. With the paint mixture ready, you're one step closer to achieving a creepy Joker transformation.
STEP 2 - MIX THE PAINT AND GET IT READY FOR THE AIRBRUSH
After adding a small amount of water to your white Derivan face and body paint, mix it with a spoon or paddle pop stick until the mixture easily drips off the end of the spoon or stick. Keep adding small amounts of water until the mixture flows like water. Repeat this process to prepare a mixture of both black and white face and body paints. Derivan face & body paint is a non-toxic, water-based paint that is perfect for use with an airbrush. When the mixture is ready, fill your airbrush paint cup and securely attach the lid. You're now ready to start applying the paint to your skin and creating the Joker's signature looks.
TRANSFORM YOUR LOOK WITH EASY JOKER FACE PAINT USING AN AIRBRUSH
STEP ONE - APPLYING WHITE FACE PAINT WITH AN AIRBRUSH
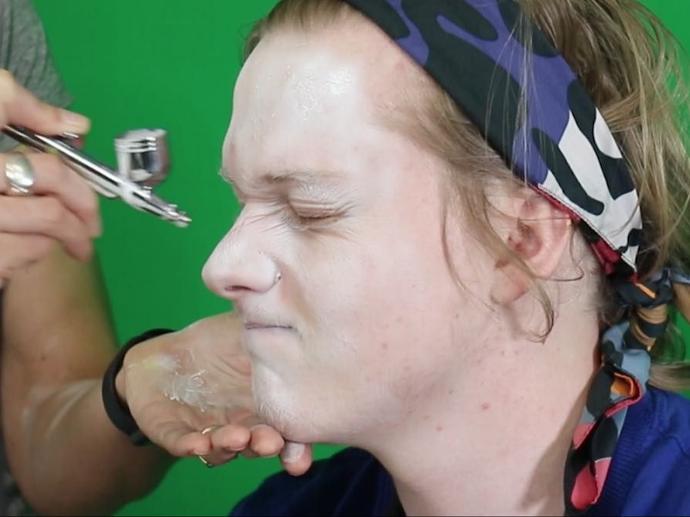
For this easy Joker face paint design, use the white face paint mixture that you prepared in the previous step. Hold the airbrush about 10cm away from the person's face and start painting. Move the airbrush in a smooth, sweeping motion, keeping it at an even distance away from the skin. Cover the whole face with white paint to create a base for the design. For the best results, have your model scrunch their face up, which will help create the desired look for the design. With the base coat applied, you're ready to move on to the next step and start adding the details of the Joker's face.
STEP TWO - APPLYING BLACK FACE PAINT WITH AN AIRBRUSH
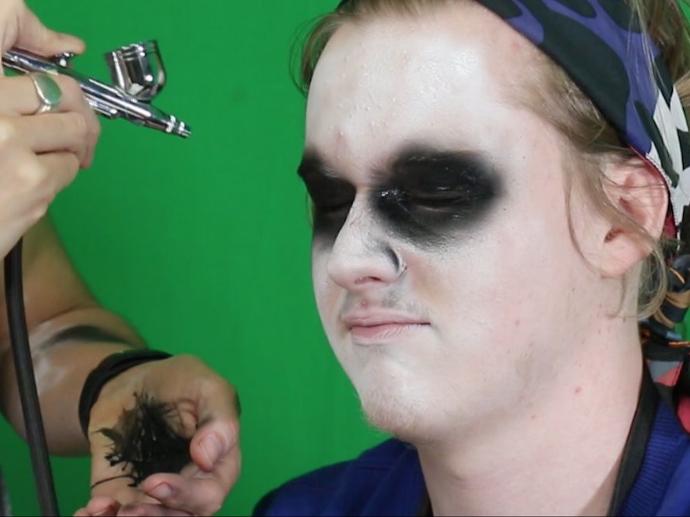
With the white base coat in place, it's time to move on to the next step. Fill your airbrush with black Derivan face & body paint and start applying large circles around the eyes, covering the eyebrows. Keep the airbrush at a distance of about 10cm from the face and work in a smooth, sweeping motion to create an even and consistent application. Use the black paint to define the eye sockets and other features of the Joker's face.
STEP THREE - ADDING DETAIL WITH THIN BRUSH STROKES
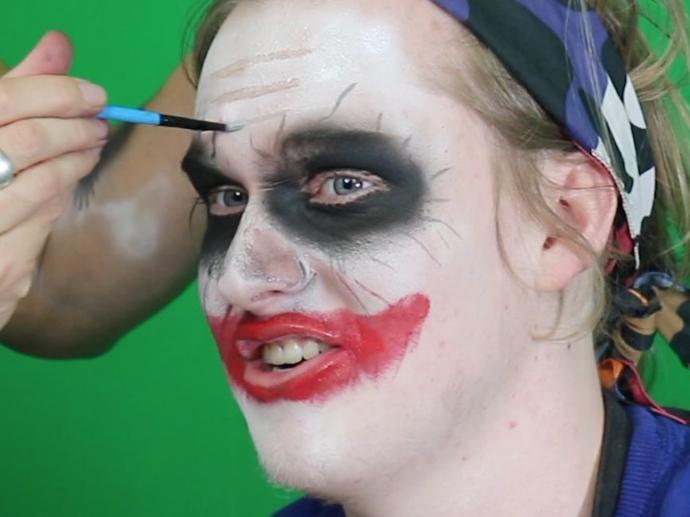
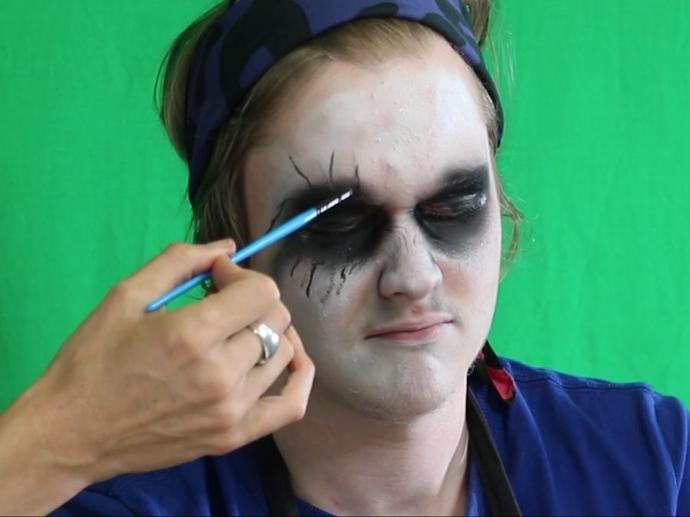
Once you have applied the black face paint circles around the eyes, it's time to add some detail to the Joker's face. Using a fine round brush, gently paint thin strokes from the black circles up towards the forehead and down towards the cheeks on either side of the face. These strokes will add definition and depth to the Joker's face, giving it a more realistic and convincing look. Be sure to work carefully and take your time, using a light touch to create thin and even brush strokes.
STEP FOUR - ADDING RED PAINT AROUND THE LIPS
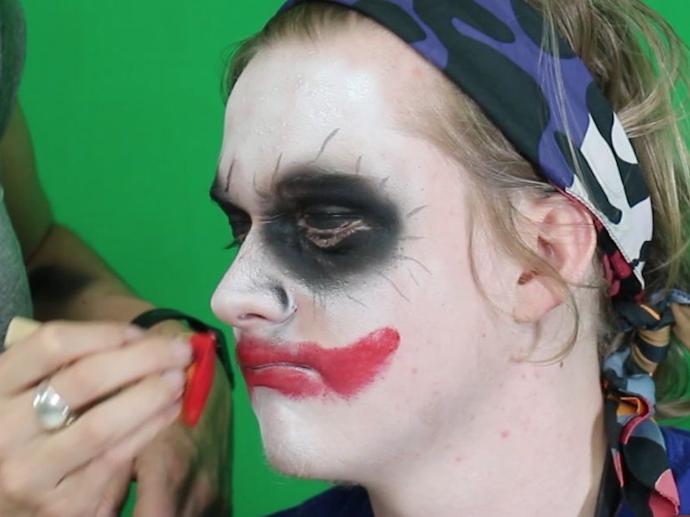
To add a pop of colour to the Joker's face, it's time to bring out the red face and body paint. With a spouncer, apply some red paint to the area around the lips. Extend the paint from the lips towards either cheek, creating a curved shape that mirrors the Joker's sinister smile. Take care to apply the paint evenly and avoid any smudging or mistakes. With the red paint in place, you'll be one step closer to a creepy and convincing Joker transformation.
STEP FIVE - ADDING RANDOM LINES TO THE MOUTH AND CHEEKS
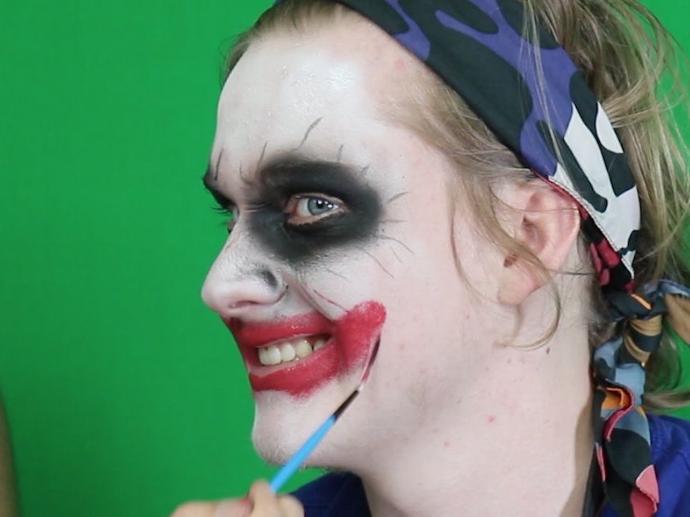
After applying the red paint around the lips, it's time to add some more detail to the Joker's face. Using a liner brush or a small fine round brush, apply some thin lines to either side of the mouth and cheeks, creating a chaotic and almost abstract pattern. These lines can be straight or curved, long or short, and don't need to follow any particular pattern or order. Be creative and enjoy this step, letting your imagination run wild.
STEP SIX - ADDING FINAL TOUCHES TO THE FOREHEAD
For the final step in creating your easy Joker face paint, it's time to add some finishing touches to the forehead. Dampen a clean brush and draw lines across the forehead, removing some white face and body paint. These lines should be irregular and uneven, with some areas more heavily removed than others. The goal is to create a sense of chaos and instability, reflecting the Joker's twisted and unpredictable personality. Once you're happy with the design, admire your handiwork.
