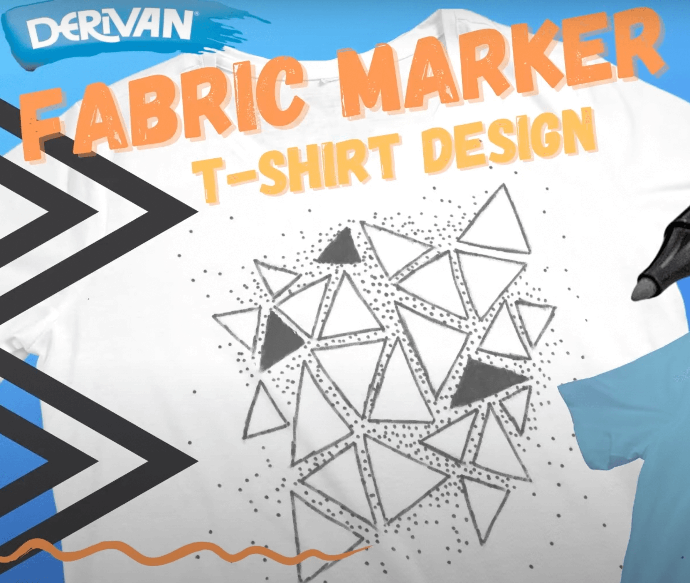
FABRIC MARKER TSHIRT PROJECT | GEOMETRIC DESIGN
Who knew one simple fabric marker could create such an easy, eye-catching T-shirt design? In this video, we'll show you how to use it to create a stunning and professional-looking geometric t-shirt design in just one colour. In this project, We'll show you step-by-step how to draw your design, and make sure your design looks perfect every time. So grab your fabric marker and get ready for some serious DIY fun!
YOU WILL NEED
A clean, well-lit workspace
A clean white t-shirt
A piece of cardboard
An iron or clothes dryer
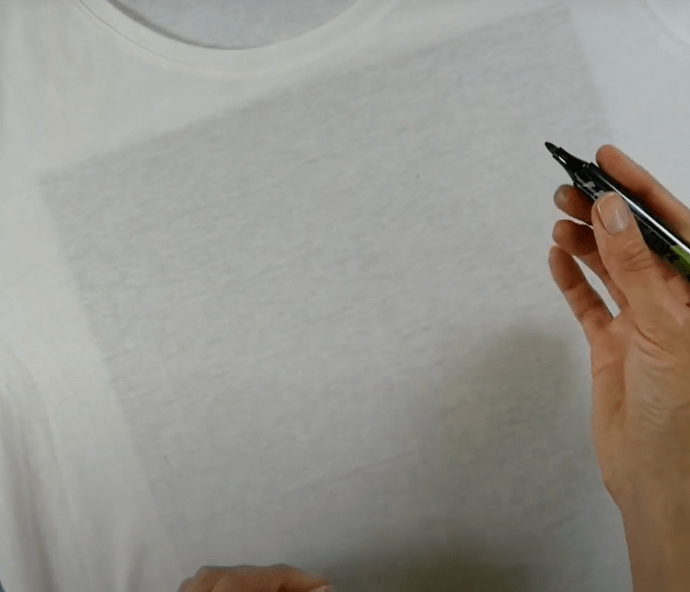
STEP ONE | PREPARING YOUR SHIRT
Place a thick piece of cardboard between the layers of the shirt, or under the layer of fabric you are creating your design on, so that the marker doesn't bleed onto other layers
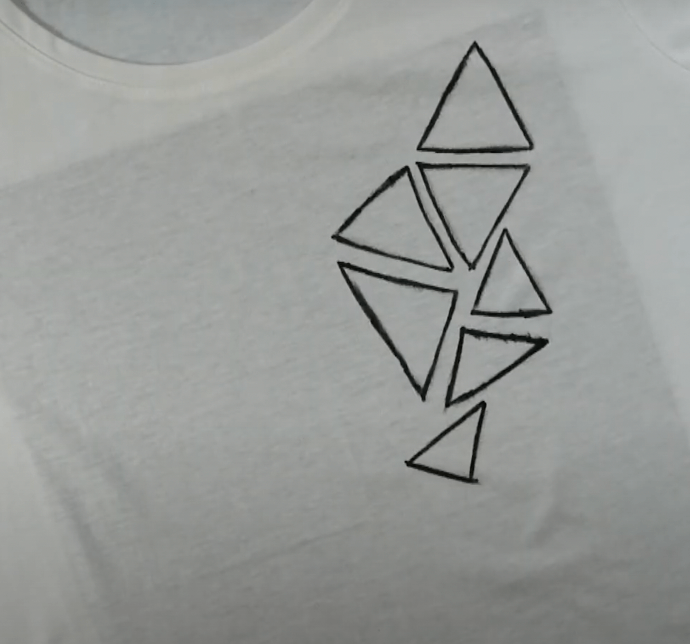
STEP TWO | GEOMETRIC OUTLINE
Using the round nib of the black fabric marker, start drawing triangles in any shape and size you want, while holding the fabric taught for a clean finish.
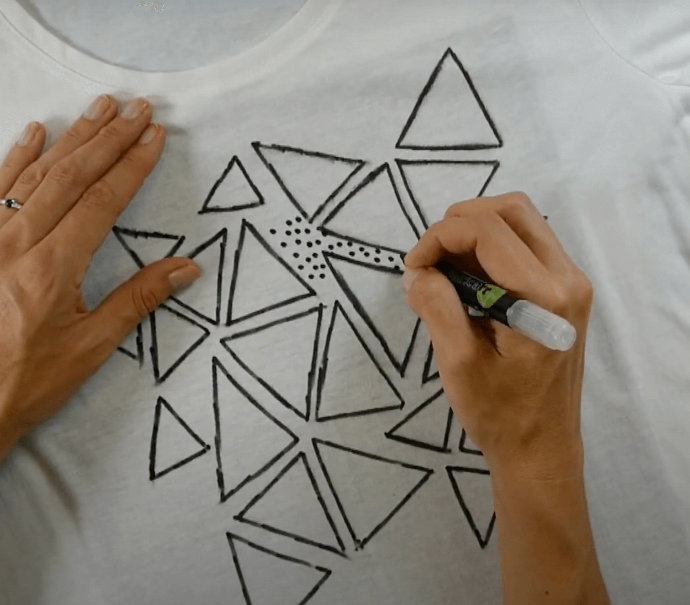
STEP THREE | INTERESTING DETAILS
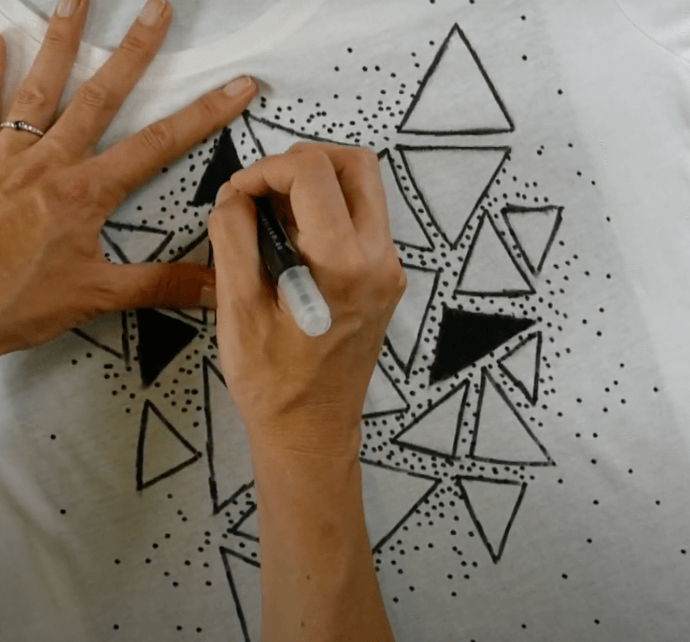
After covering the desired area of the shirt with the triangular pattern, you can fill in the areas between the triangles with dots to add detail and interest to the design. To create a more personal design, you may like to create a design within the dots.
STEP FOUR | ADDING DEPTH
To add a final graphic details to this design and finish it off, choose three triangles to colour in. Blocking out these triangles creates depth in the design. You may want to spread these blocked out triangles around the shirt to visually balance the design.
STEP FIVE | HEAT SET YOUR DRAWING
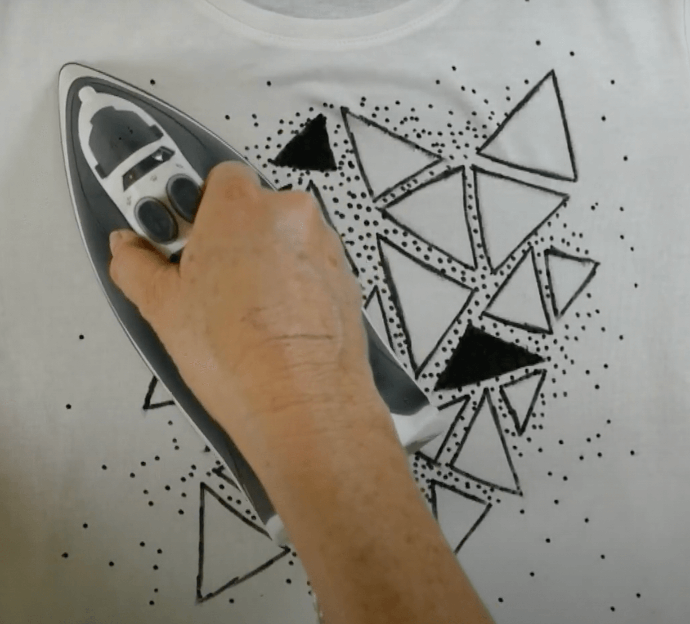
To finalise the design you can use an iron to heat set your drawing. After completing the design, allow the material to air dry for 30 minutes. Fix the fabric using an iron-cotton setting - pressing for 2 to 3 minutes on the reverse side. Do not wash for 48 hours after fixing. Although colours are resistant to average wash temperatures (40°), we recommend washing the fabrics in cold water and allowing them to air dry to obtain the best results.
Practice your fabric art designs
As you can see, creating a fabric art design isn’t difficult, but it does take some practice. If you follow the tips and steps outlined in this guide, you’ll be a pro in no time. With a bit of practice, you’ll easily create incredibly intricate geometric fabric art designs.