EGG CARTON PROJECT - OWL AT NIGHT
Suppose you are looking for a new way to up-cycle your egg cartons and have fun with the kids; here is the perfect project. Create memorable artwork using Derivan Acrylic Challenge paint for Kids.

YOU WILL NEED
Before starting your Carton Project, ensure you have all the necessary supplies.
Drop cloth or newspaper
Cardboard Box
empty egg carton
Derivan Gel Medium 250ml
Derivan Challenge Kids Paint - yellow, orange, blue, white, brown and black
Brushes
Palette or disposable plate
Scissors
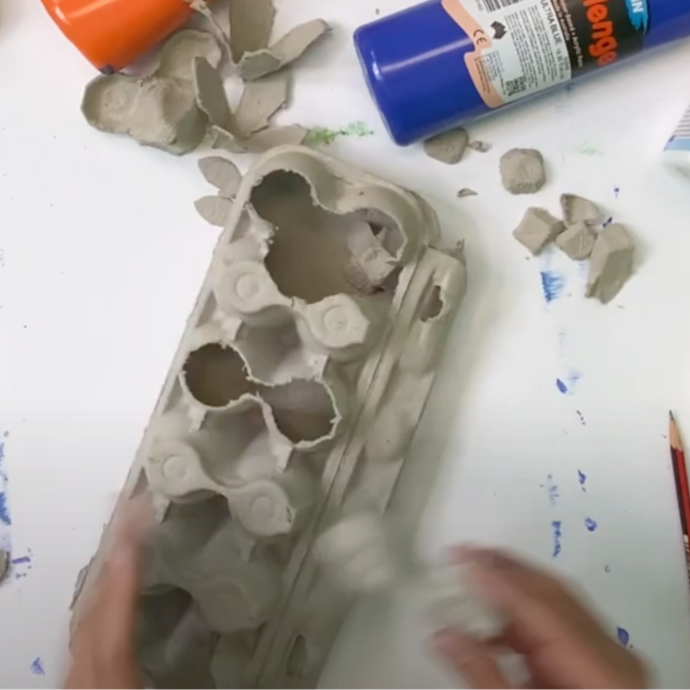
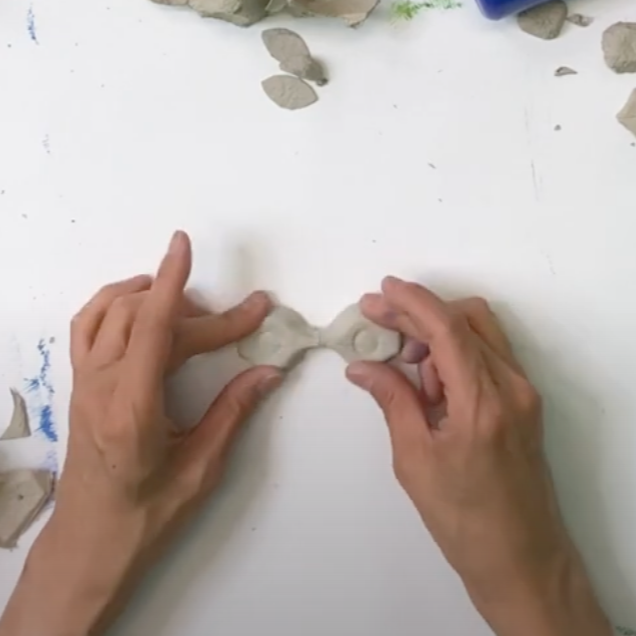
STEP ONE | CUT OUT THE EYES
The first step is to cut out the eyes of the Owl using scissors. This is done by removing the base of the egg carton.
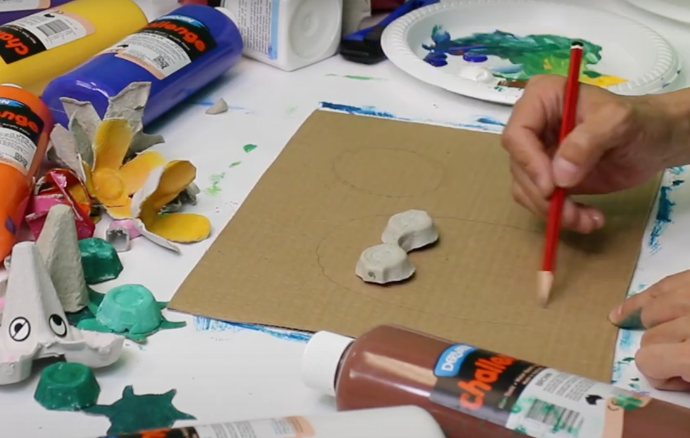
STEP TWO | SKETCH THE OWL'S BODY
Now you have your Owl “eyes”, place them on a larger piece of recycled cardboard. Now draw your owl outline and a moon. Having the eyes on the cardboard will ensure you get the owl's body the right shape.
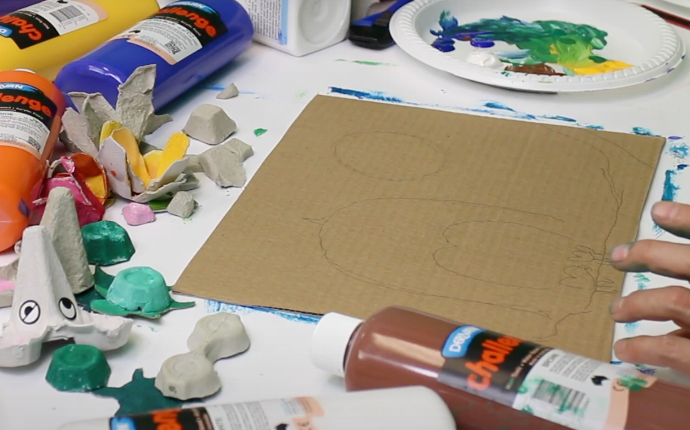
STEP THREE | SKETCH IN A BRANCH AND MOON
After removing the Owl eyes, you can add extra elements to the design by including a branch to make it appear the owl is perched. Adding legs and talons will give it more character.
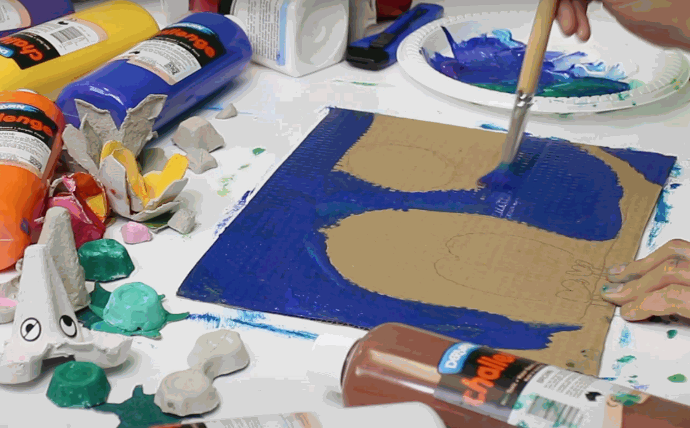
STEP FOUR | PAINT IN THE BACKGROUND
Now that you have created the outline of your masterpiece, it's time to add some colour! With the blue Challenge paint, use a brush around the owl's body and the moon.
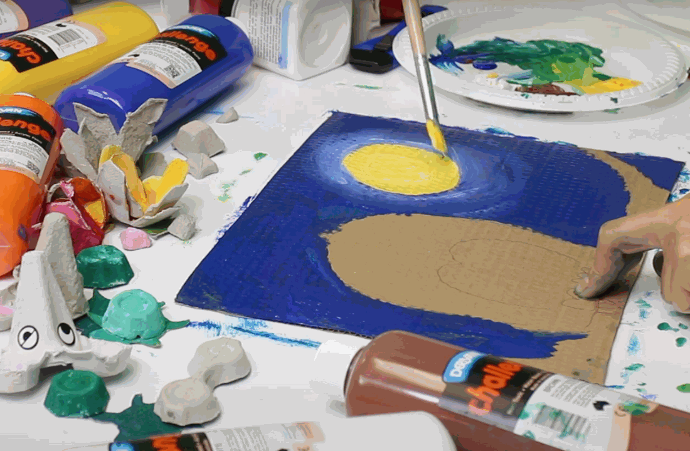
STEP FIVE | PAINT THE MOON
With the white paint, you can create a halo around the moon that will give it a celestial feel. Use the yellow paint to unevenly colour the moon, making it look like the real thing!
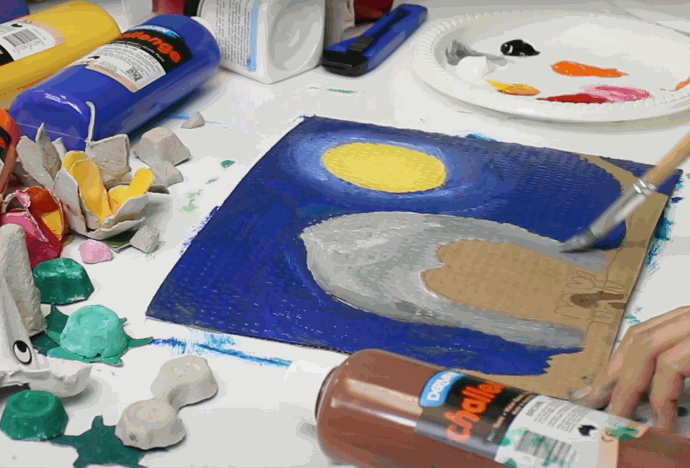
STEP SIX | PAINT THE OWL'S BODY
It's time to get creative with this owl craft project! To give the owl some texture, you'll want to mix white and black to create different shades of grey. Paint a few shades in the owl's body to make it stand out from everything else.
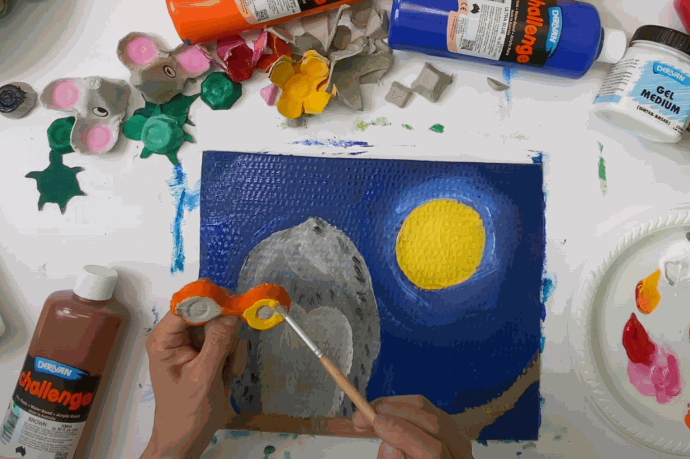
STEP SEVEN | PAINT THE OWL EYES
It is time to work on the eyes. Carefully use the orange and yellow paints; use your brush to colour the outside of the eyes with orange, then paint the inside with yellow.
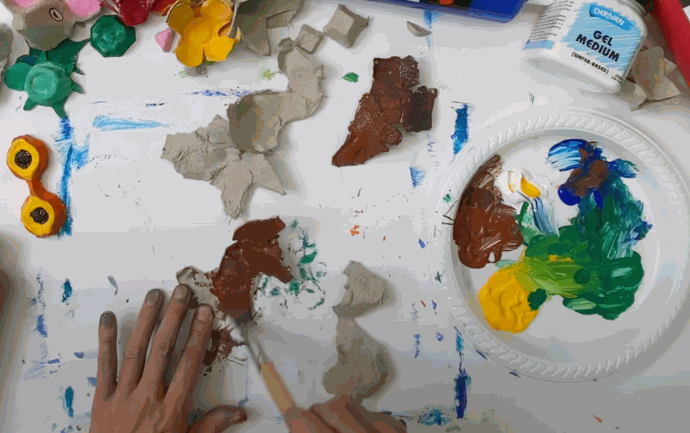
STEP EIGHT | CREATE THE BRANCH BARK
Rip up the remaining egg cartons and paint the pieces brown. This will create a textured branch for your owl art.
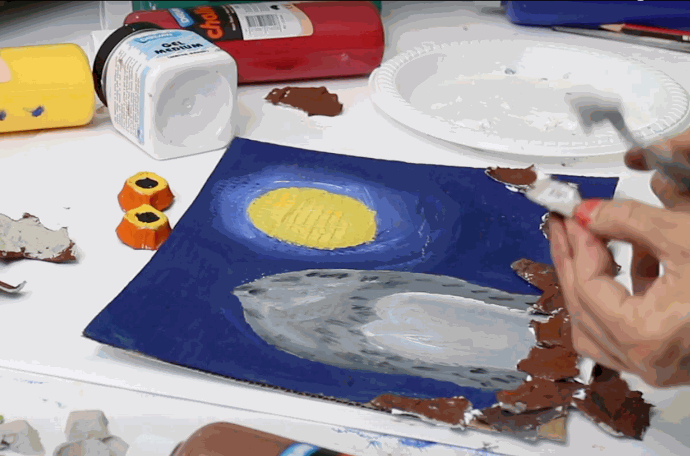
STEP NINE | GLUE THE BRANCH IN PLACE
Once your owl branch pieces have dried, glue them with the Derivan Gel medium using a brush. Apply them to the back of the brown bits and stick them to the area below the owl. Allow it to dry before continuing.
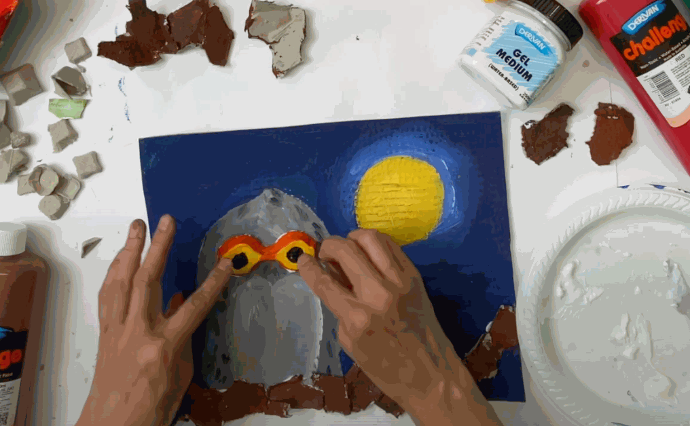
STEP TEN | GLUE THE OWL EYES
Now that the owl painting is almost finished, it's time to add those owl eyes! Using Derivan Gel Medium, stick the eyes onto the head of the owl and show off your masterpiece. This craft with egg carton owl will wow your family and friends!
For more art and craft inspiration, check out our Derivan Art Project page for more suggestions. We are continuously adding new content to this page to give you new ideas for your next project.