WITH A FABRIC SCREEN PRINTING KIT
YOU CAN SCREEN PRINT T-SHIRTS AT HOME
you can make your custom t-shirts, fabric totes or home furnishings with screen printing. It is easy to do and requires few supplies! You need a space, an easily accessible surface
FABRIC CHOICES
Choice of fabrics: Best results are obtained from absorbent materials such as 100% cotton; avoid waterproof fabrics as they tend to inhibit penetration of the paints thus affecting washability. Wool, in general, should be avoided unless thoroughly cleaned as the wool grease (lanolin) can repel water-based colours. Fabrics containing starch, size, fillers, softeners or creaseproof treatments should be washed before printing/painting. Waterproofing treatments included in these fabrics may prevent proper paint absorption and will result in mottling, poor colour adhesion or patchy printing and may not remain wash proof.

STEP 1:
PREPARE YOUR ARTWORK
Choose a photocopy or drawing of something you would like to replicate.
* If this is your first time, try a simple design and get used to the tools before making more complicated ones.
* Leave space above and below your design for the ink to be placed on the screen when printing.

STEP 2:
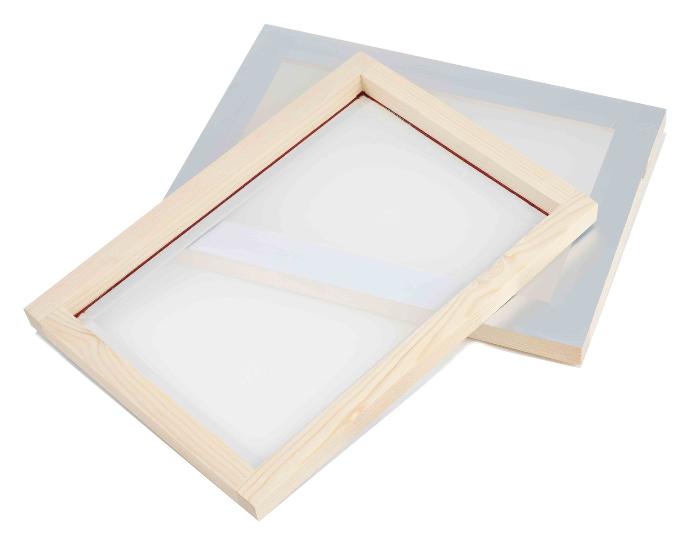
PREPARING YOUR SILKSCREEN FRAME
Make sure your silkscreen frame is clean and dry.
Place the frame on a flat surface propped 1cm above your design so it does not smudge; make sure the frame is level *In this example, we have used food clips to support the frame above the artwork.

STEP 3: part one
APPLYING THE DRAWING FLUID WITH THE NIB
Now you can start tracing your design. Use the drawing fluid supplied with the bottle to trace the finer lines of your design.

STEP 3: part two
APPLYING THE DRAWING FLUID WITH THE NIB
It's best not to apply it too thickly since this will cause it to dry slower and make washing it out more difficult.

STEP 4:
APPLYING THE DRAWING FLUID WITH A BRUSH
Another way of applying drawing fluid is with a brush.
Tip: rest your wrist on the edge of the frame to avoid smudging your artwork.
Once you are finished with your design, allow it to dry for a few hours or leave it overnight. Drawing Fluid dries slightly tacky to the touch. Test it by touching it gently with your finger; if no liquid sticks, then it's dry enough!
*You can also use a hairdryer to speed up the drying time; keep in mind that to use the cool low setting to make sure not to damage the screen.

STEP 5:
APPLYING THE BLOCK OUT
Protect your workspace by placing a drop cloth down on your workspace. Place the silkscreen frame facing downward. Make sure that your screen printing squeegee is ready before this step; you need to be quick! With Block Out Medium, pour it on where the tape ends at one end of your screen. The Derivan Block Out is very fluid, so you need to ensure that your surface is level before commencing.

STEP 6:
SQUEEGEE THE BLOCK OUT SILKSCREEN FRAME
After applying the Block out, use the silkscreen squeegee to pull it down.
It is best to gently glide the squeegee down the screen, holding it at a 40-degree angle.
Try not to push the medium through the screen once you start the pass, don't stop.
Use a brush to touch up any exposed areas on the silkscreen frame after you have used the squeegee.

STEP 7:
USE A BRUSH TO TOUCH UP
USE A BRUSH TO TOUCH UP
If you missed a spot on the silkscreen, use your paintbrush to touch up those areas after using the squeegee.

STEP 8:
LEAVE BLOCK OUT TO DRY
VERY IMPORTANT STEP!
DON'T: force drying with a hairdryer.
The Block out should be left a minimum of 72 hours to dry. It is imperative that a test then be performed on an area of the block out, rubbing it with a damp cloth or finger, to make sure it has cured. If some colour comes up, leave it for another day before testing again. In some climates it can take many days before the block out is cured so that it will not move when washing out the drawing fluid.
*Note in areas where the ambient temp is below 20C or with high humidity, the block out can take considerably longer to cure. Always TEST a small section of the Blockout medium on the edge of the screen printing frame by doing a rub test with some water before attempting to wash off a larger area.

STEP 9:
TEST THE BLOCK OUT FOR CURING
Before rinsing out the Drawing Fluid, TEST a small section of the Blockout medium on the edge of the silkscreen. Dip your finger in water and rub around a small area to see if the Block out is reactivating.
If the block-out is lifting, allow extra drying time for the screen to dry and test again I f the Block out doesn't reactivate, move on to Step 10

STEP 10:
RINSE THE DRAWING FLUID OUT OF THE SCREEN PRINTING FRAME
Once the screen is dry, you can rinse out Drawing Fluid gently. Place your screen over a sink to allow the rinsed drawing fluid to drip through. Wet the screen and gently rub with your fingertips in circular motions around the edges of the Drawing fluid.
Troubleshooting:
PROBLEM: Block out washed away, leaving design altered. This typically happens if you don't allow enough time (72 hours) for the Block out to completely dry.
SOLUTION: You can, however, salvage your design by applying touch-ups with a brush and Block out medium. After applying the touch-ups, leave it to dry fully. *Allow at least another 48 hours for it to dry before you use your screen.
SCREEN PRINTING ON FABRIC STEPS

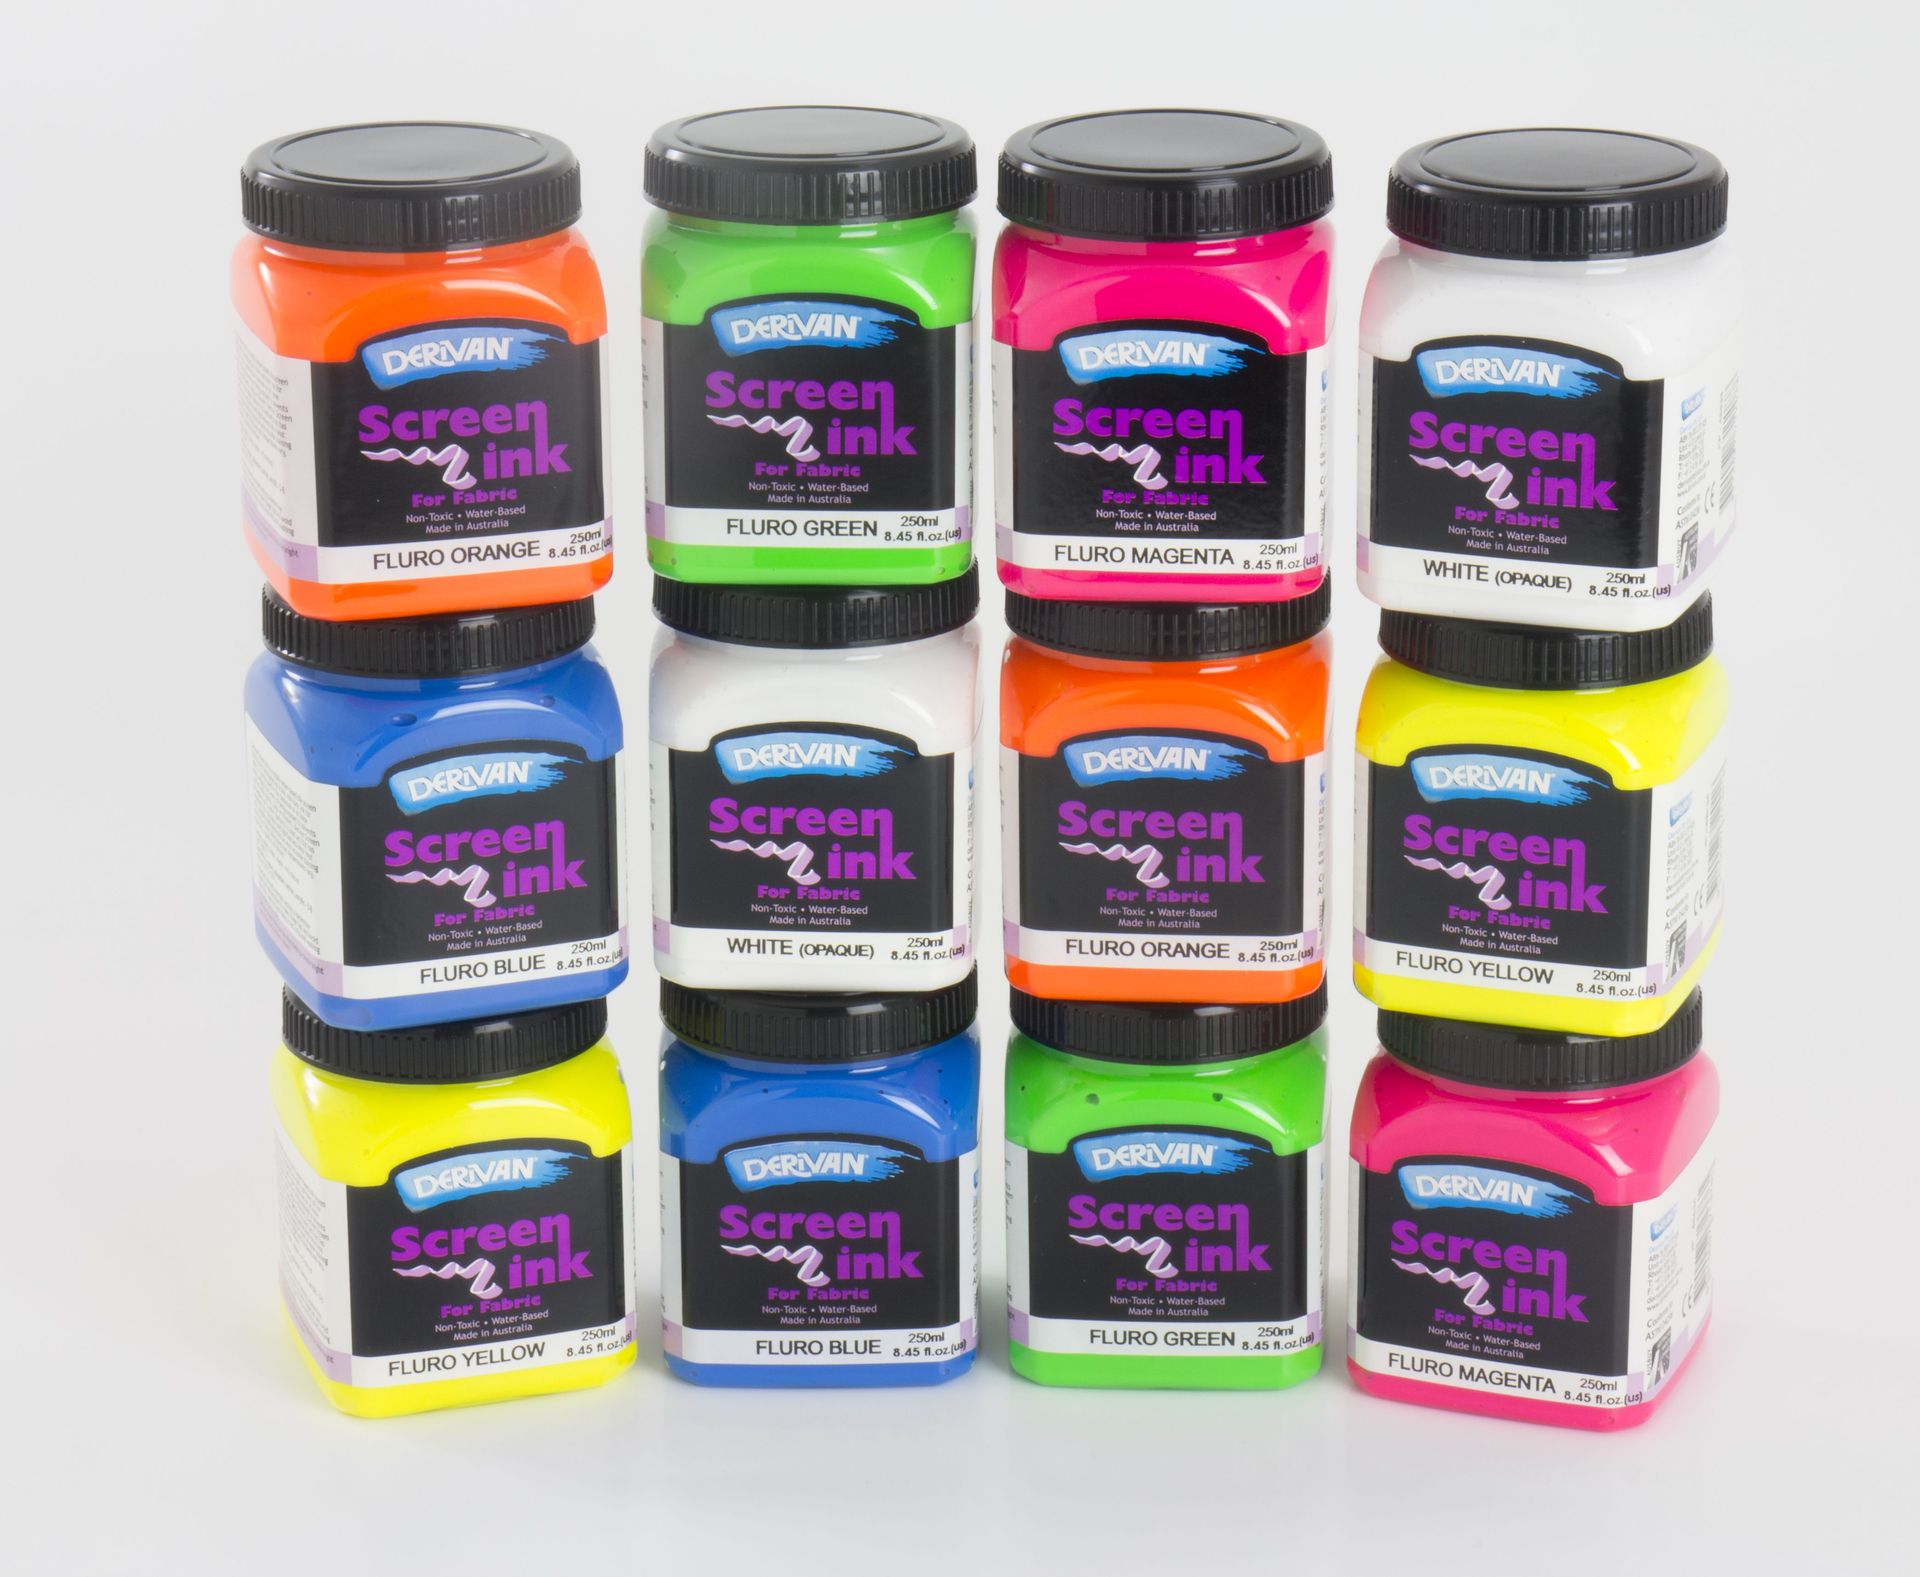
STEP ONE APPLY THE INK TO THE FRAME
Place your printing ink on the frame, at the top of the screen, approximately 2cm wide.

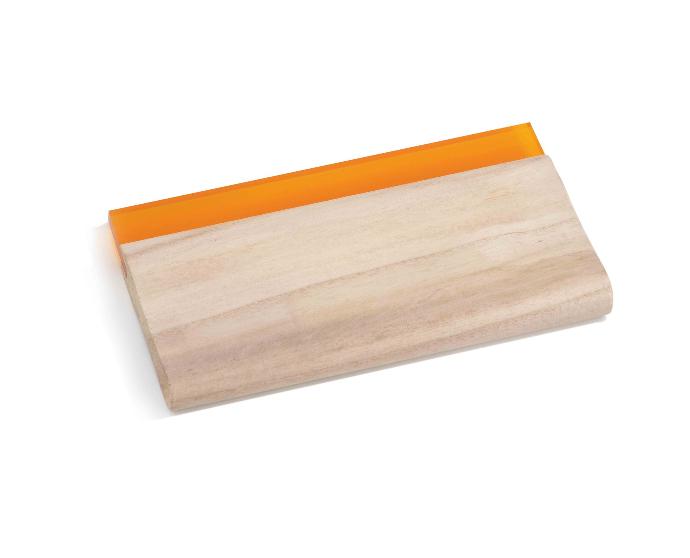
STEP TWO DRAG THE INK WITH A SQUEEGEE
Hold the squeegee at a 45-degree angle and drag it down.
Make sure the screen is secured firmly in place to not shift.

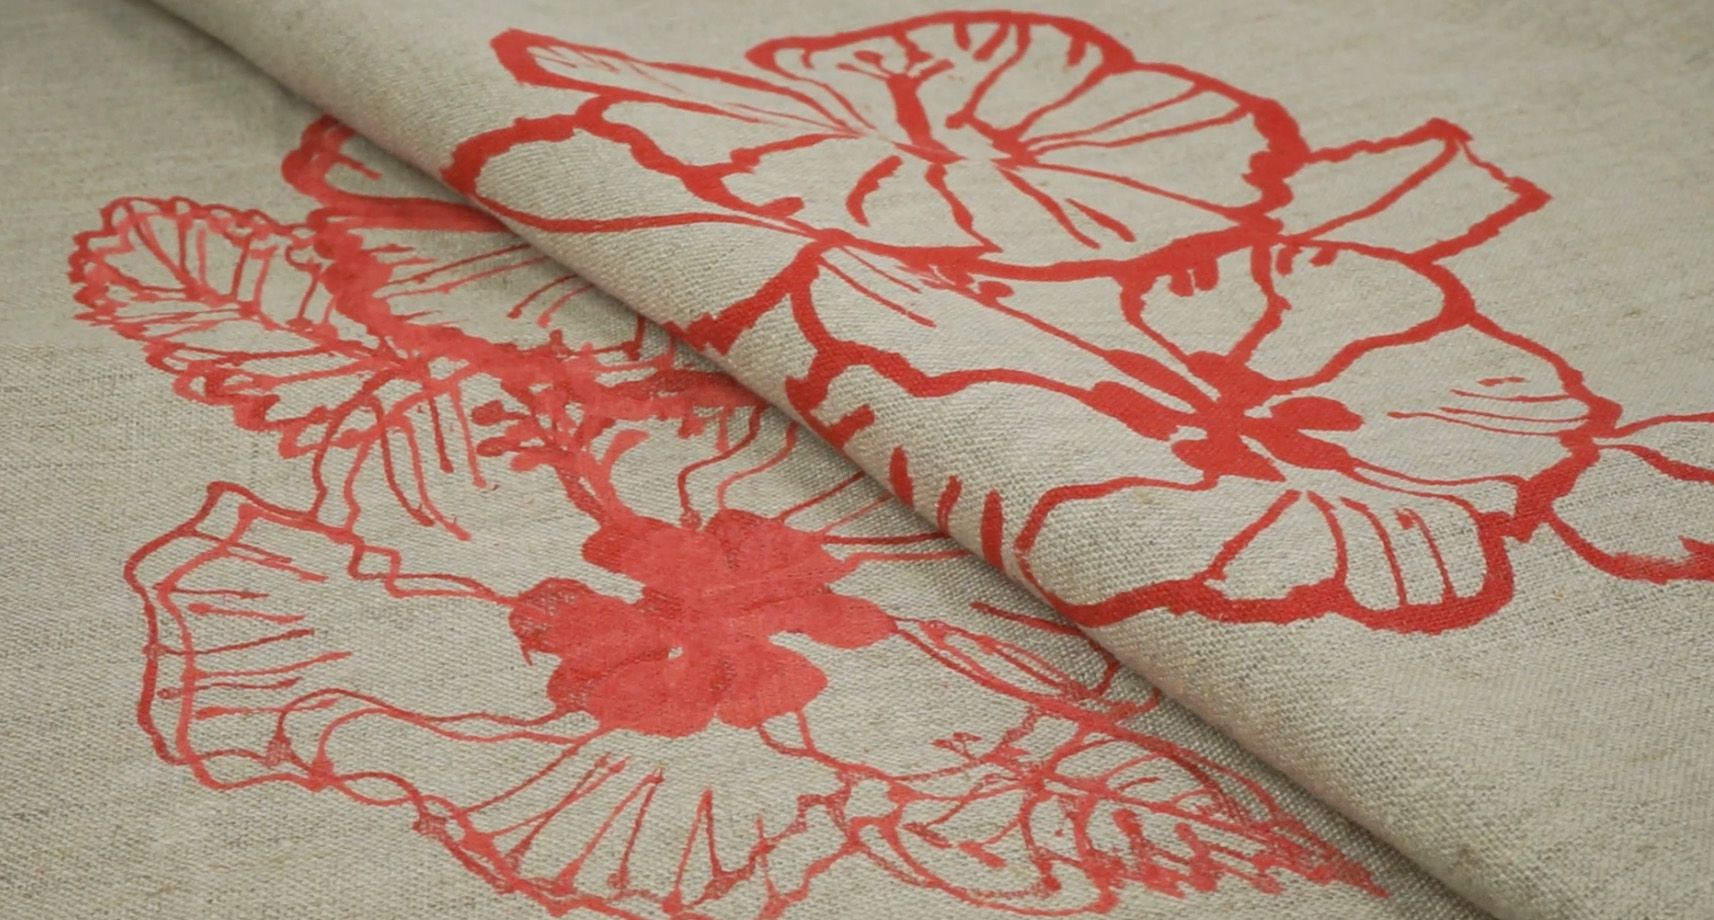
STEP THREE LIFT THE SCREEN TO REVEAL YOUR DESIGN
Slowly lift the screen off the fabric.

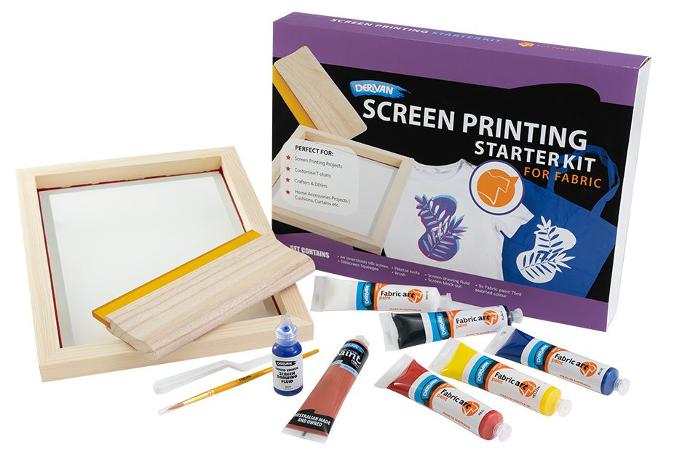
SCREEN PRINTING STARTER KIT FOR FABRIC
BUY SCREEN PRINT KIT FOR FABRIC
LEARN MORE ABOUT SCREEN PRINTING
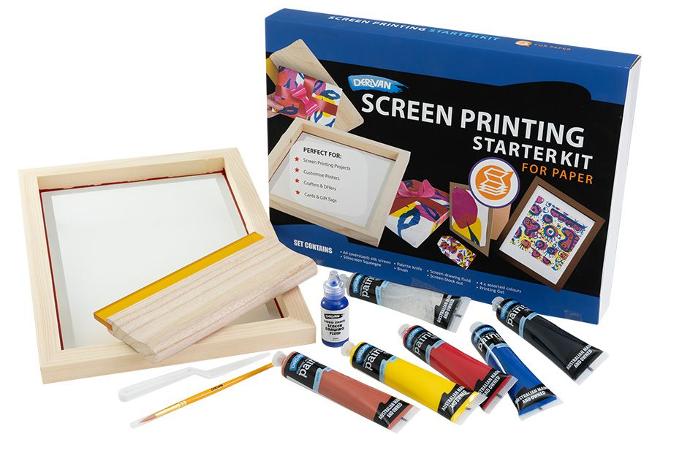
SCREEN PRINTING STARTER KIT FOR PAPER