Master Acrylic Pour Painting with Ease: A Beginner's Guide
GET STARTED WITH ACRYLIC POURING IN JUST A FEW EASY STEPS.
Have you ever wanted to try pouring acrylics? It's super easy, even if you're new! You'll be on your way to making beautiful art that will put a smile on your face.
Pouring acrylics is such fun and makes a great way to spend your crafternoon.
We have put together some simple acrylic pouring for beginners instructions that will have you being an acrylic pouring artist in no time. To make our paint ready to pour we will be using Derivan Spreader Medium
Derivan Spreader medium is perfect for any artist looking to experiment with pouring techniques. With "pour painting," paint is applied to a canvas using a variety of different techniques, creating interesting, abstract patterns
About using Spreader Medium for Pouring Art
Derivan Spreader Medium is fat water that is perfect for marbling it keeps your colours clean and has the added advantage of creating cells quickly without worrying about using silicon or experimenting with paint densities.
So if you are looking to make eye-catching fluid art, use Derivan Spreader Medium, to create your pouring paint its water-based, non-toxic, great to use with kids and adults alike. Perfect for the beginner artist, it does not have glue in the formula, so it makes clean up a breeze.

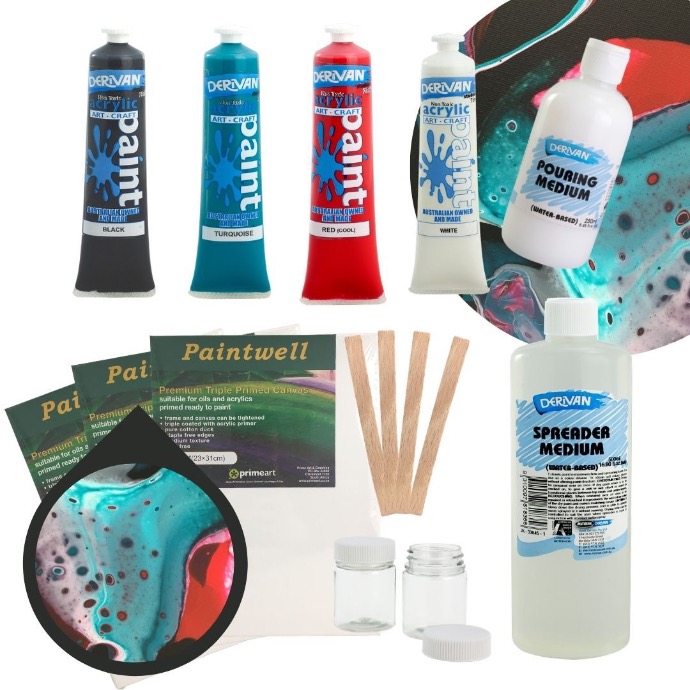
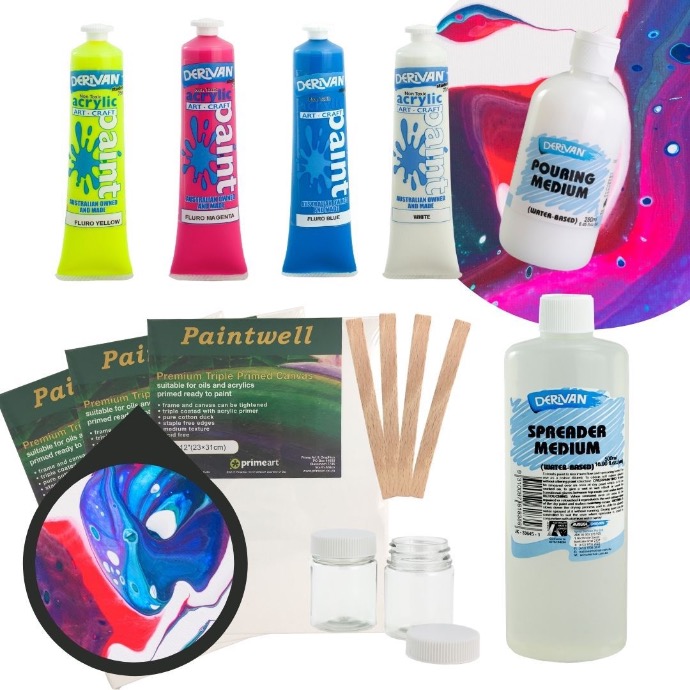
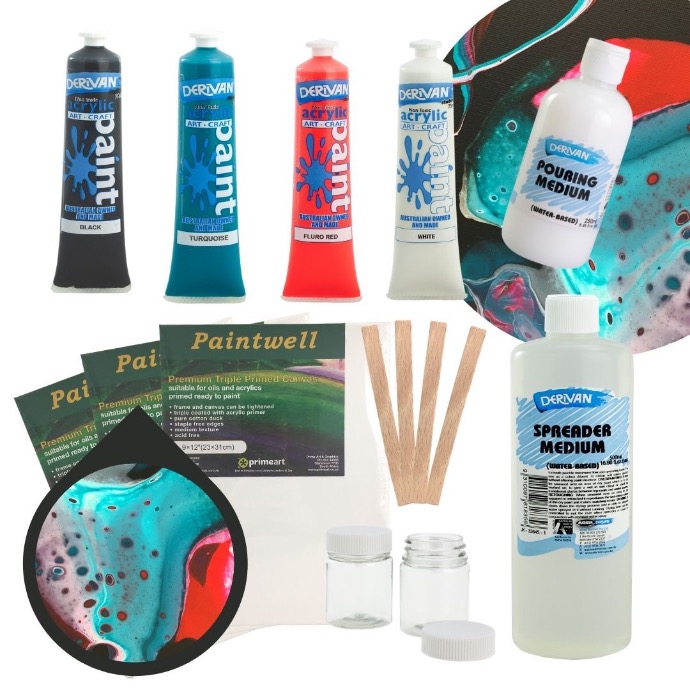
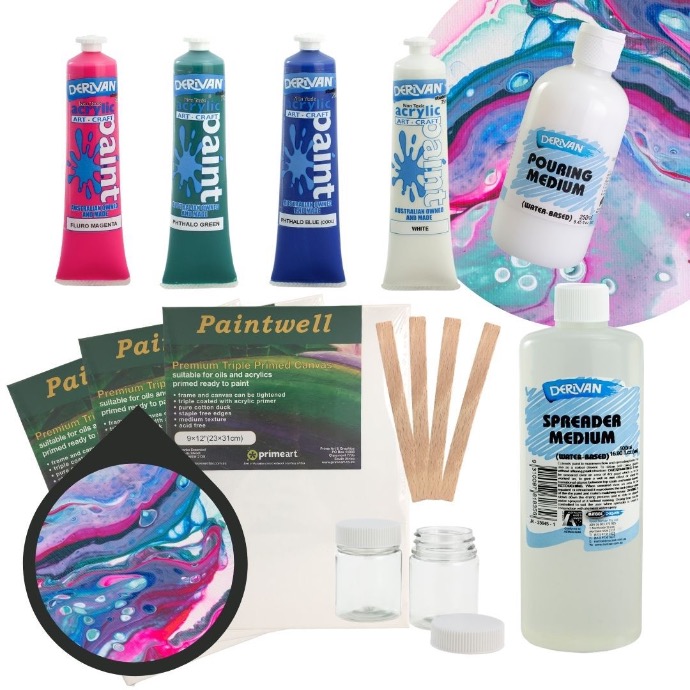
Acrylic Pouring Supplies
Gather your Materials for your Acrylic Pouring artwork, you will need to prepare your workspace by putting some scrap paper down to protect your workspace.
Derivan Student Acrylic white, fluro magenta, fluro blue and fluro yellow
1 X Derivan Pouring Medium ( 250ml)
1 X 9 x 12 inch canvas
4 X plastic Cups for mixing
2 X 40ml Jars

STEP ONE | Acrylic Pouring
Mix up your acrylics with Derivan Spreader Medium to create your acrylic pouring paint. Use the ratio of one part paint to three parts Spreader Medium. The fun thing is you will need to stir vigorously because what you want to do is create as many air bubbles as possible - this is what makes the cells.

STEP TWO | Acrylic Pouring
This step will ensure you get lots of cells in your acrylic pouring artwork without using silicon or paint densities. It is essential to stir the paint and the Derivan Spreader medium thoroughly to make sure the mix has wholly combined the colour and the medium and that you have a lot of air bubbles, these disappear upon drying to reveal the cells.
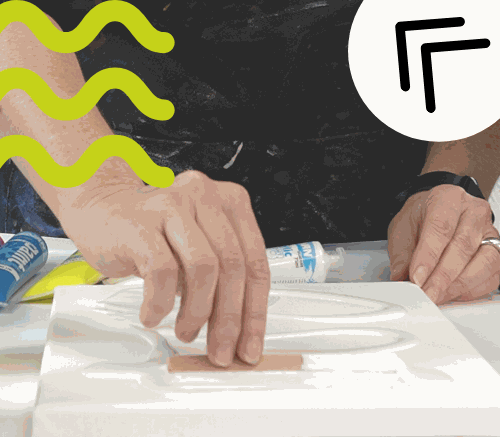
STEP THREE | Acrylic Pouring
In this painting, white will be the background, and you don't need a lot, just enough to give a thin coat on the whole surface. Then with your paddle pop stick, drag the white across the canvas. You don't have to be too pedantic about how this is applied. The cool thing about spreader medium is it does what the name says. It spreads and is self-levelling.

STEP FOUR | Acrylic Pouring
We will do an acrylic pouring technique called a "dirty pour", so, in your 40ml jar, you can start doing layers of colour. The colours chosen in this project will make great colour mixes, so there is no wrong way to do it. Half fill the jar with your layers of paint. For this artwork, you will need to do two jars.

STEP FIVE | Acrylic Pouring
If you were wondering about the flip cup technique now it is time to flip your fill jars onto your canvas. *Hot tip there is no right or wrong way to do this technique, maybe just not too close to each other. Wait 60 seconds for the paint to pour down the jar. now its time to get creative move the pour around the canvas to create different shapes and lines.

STEP SIX | Acrylic Pouring
Wait 60 seconds for the paint to pour down the jar. Now it is time for the big reveal. Lift the jar and move the jar around the canvas. The colours will marble with each other and create amazing patterns. Move the pour around the canvas to create different shapes and lines. The important tip now is not to fiddle too much as you don't want to mix the paint.

STEP SEVEN | Acrylic Pouring
Leave the canvas to dry overnight until the surface is dry to the touch. You can now varnish with the Derivan Pouring Medium. * hot tip don't use the pouring medium too thickly. It is better to do two layers of the pouring medium leaving to dry overnight between coats. The pouring medium will make the surface shiny and resin-like and will pop the colours out.